Grafting Apple Trees — Techniques, Timing, and Tips
Grafting lets you add new apple varieties to existing trees, repair damaged trees, or create multi-variety trees in small spaces. Here's how it works and how we use it at Nadeau Farms.
What Is Grafting?
Grafting is the process of joining a piece of one tree (the "scion") onto the root system or branch of another tree (the "rootstock"). The scion becomes the new branch and produces the fruit variety you want. The rootstock controls the tree's size, vigor, and disease resistance. Nearly every fruit tree you've ever bought from a nursery was grafted.
For home orchardists and small farms, grafting is a way to add pollination partners, try new varieties, or create "family trees" with multiple apple varieties on a single trunk.
When to Graft
Timing depends on the grafting method, but most grafting is done in late winter to early spring — after the coldest weather has passed but before the trees break dormancy. In the Pullman area, this typically means late February through early April.
| Method | Best Timing | Difficulty |
|---|---|---|
| Whip-and-tongue | Late winter (dormant) | Moderate |
| Cleft graft | Early spring (just before bud break) | Easy |
| Bark graft | Spring (bark slipping) | Easy |
| Bud graft (T-bud) | Late summer | Moderate |
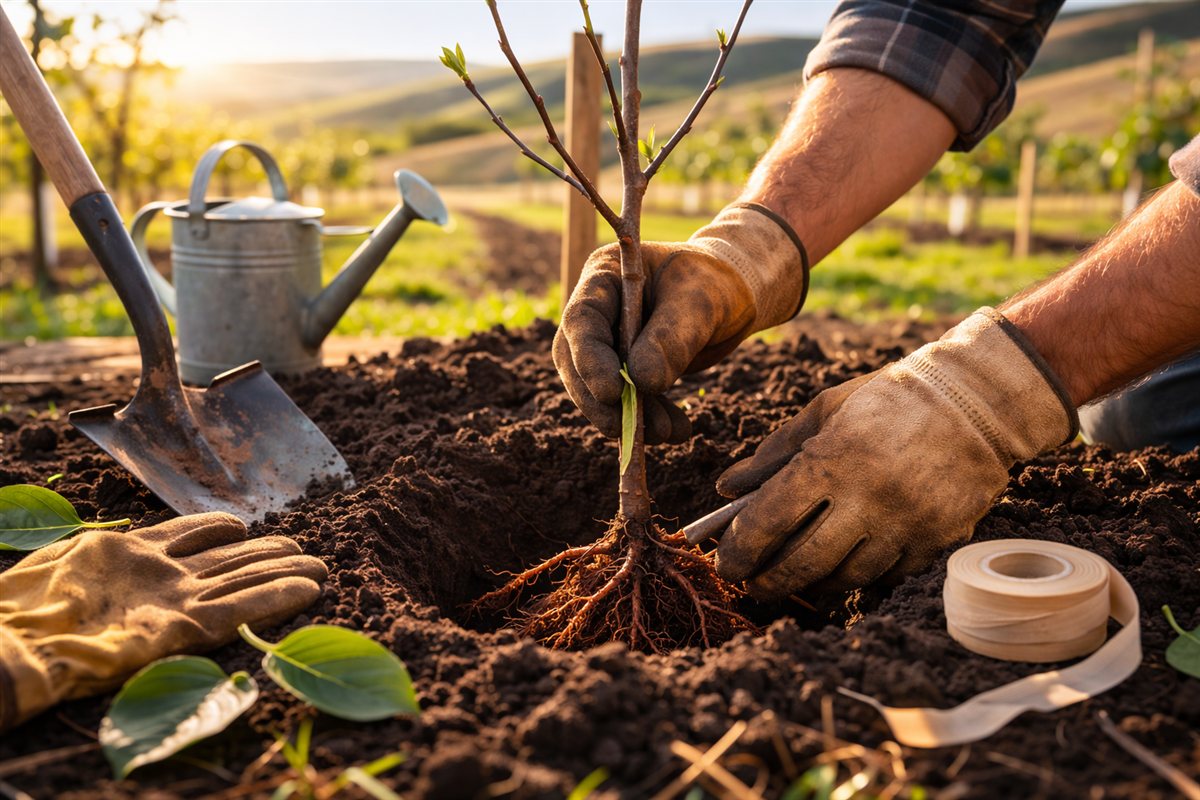
Step 1 — Collect Scion Wood
Scion wood is collected from the variety you want to grow. Cut pencil-diameter shoots from last season's growth while the tree is fully dormant (January–February). Look for healthy, straight one-year-old wood with plump buds.
Wrap the cuttings in a damp (not wet) paper towel, seal in a plastic bag, and store in the refrigerator. Scion wood can be stored for several weeks this way. Label everything — dormant apple wood all looks the same.
Step 2 — The Whip-and-Tongue Graft
This is the most common grafting method for joining pieces of similar diameter. Both the scion and rootstock are cut at matching angles (about 1.5 inches long), then a thin "tongue" is cut into each face. The tongues interlock, creating a strong mechanical connection with maximum cambium contact.
The key to success is aligning the cambium — the thin green layer just under the bark. This is where the living tissue is, and it's where the graft union forms. If the scion and rootstock are different diameters, align the cambium on one side rather than centering.
Step 3 — The Cleft Graft
Cleft grafting is the easiest method for beginners and works well when replacing a large branch or top-working an existing tree. Cut the rootstock branch straight across, split the end down the center about 2 inches, and wedge one or two scions (cut into a tapered wedge shape) into the split. The bark edges of the scion must align with the bark edges of the rootstock.
Step 4 — Wrap and Seal
Once the scion is positioned, wrap the union tightly with parafilm or grafting tape. This holds everything in place and prevents the graft from drying out. Seal any exposed cut surfaces with grafting wax or Tree-Kote to prevent desiccation and disease entry.
Step 5 — Aftercare
A successful graft will push buds within 2–4 weeks. Remove any shoots from the rootstock below the graft — these are rootstock suckers and will out-compete the scion if left. After the first growing season, the parafilm will break down naturally or can be carefully removed.
Expect about a 70–80% success rate for beginners. Even experienced grafters have failures. Always graft more than you need.
Why We Graft at Nadeau Farms
Grafting allows us to trial new varieties without planting new trees. If a variety doesn't perform well in our microclimate, we can top-graft those branches with something better. It's also how we ensure we have the right pollination partners in the right locations throughout the orchard.